


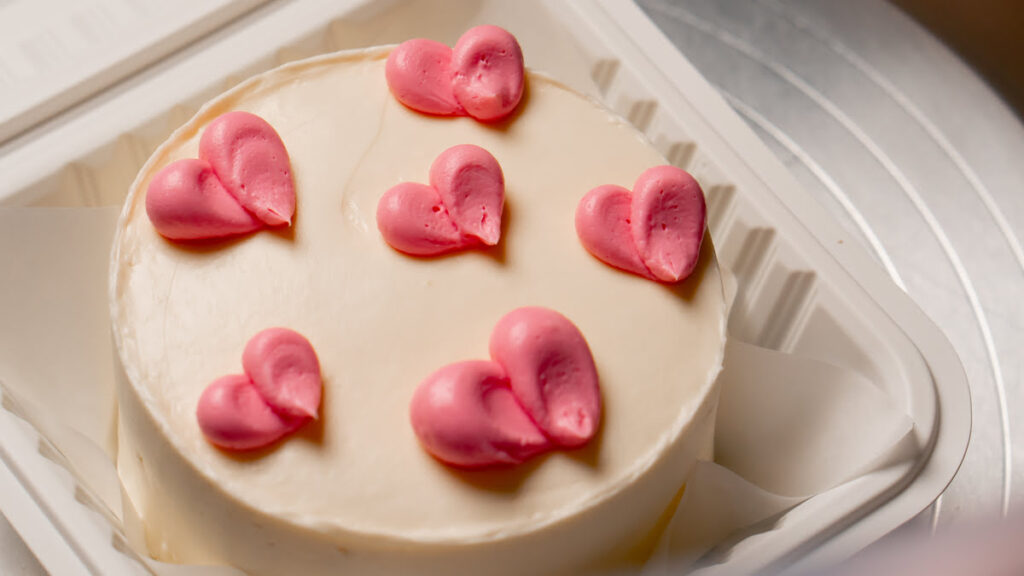
Frosting a cake isn’t just about looks – it’s also about structure and finish. A properly prepared frosting layer serves as both a protective coat and a smooth canvas for further decoration. A good cake frosting should be stable, flexible, and easy to apply. Only then can it provide an even surface and give the dessert a clean, elegant appearance.
But not every cream or mixture is suitable for the job. The best frosting for cakes must withstand changes in temperature, spread easily, avoid lumps or air bubbles, and allow for precise smoothing and coloring. In this article, you’ll learn how to frost a cake step by step, discover tried-and-true frosting recipes, and find practical tips to help you achieve a finish worthy of a professional bakery.
Table of contents:
2. Buttercream Frosting – Recipe
3. Types of Buttercream Frosting
3.1 Italian Meringue Buttercream
3.2 Swiss Meringue Buttercream
3.4 Condensed Milk Buttercream
4. How to Customize Your Buttercream Frosting
5. Mascarpone Frosting – Recipe
6. How to Frost a Cake Step by Step
7. Common Mistakes When Frosting a Cake
8. Cake Frosting – Frequently Asked Questions
8.1 What’s the difference between frosting and filling cream?
8.2 Can cake frosting be colored?
8.3 Why does my frosting have air pockets or a rough texture?
8.4 How thick should the frosting layer be?
8.5 What frosting works best in hot weather?
8.6 Can every cake be frosted?
8.7 How can I make white frosting even whiter?
8.8 How many layers of frosting should I apply?
8.9 What can I do if my frosting curdles?
8.10 How do I make black frosting?
8.11 How do I remove air bubbles from frosting?
8.12 How should frosting be stored?
What Is Cake Frosting?
Cake frosting, often referred to as an outer cream layer, is the finishing touch applied to the top and sides of a cake. Its primary role is to smooth the surface, level the edges, and provide a clean base for additional decorations. Thanks to the frosting, a cake looks elegant and polished – without uneven layers, air bubbles, or visible sponge edges.
Frosting a cake requires not only a reliable recipe but also precision and the right tools. Essential items include:
- an offset spatula,
- a turntable cake stand,
- a cake scraper or edge smoother,
- a piping bag for even distribution.
A well-chosen frosting should be pliable, easy to apply, and hold its shape – only then can you achieve a smooth, uniform coating. Whether you’re baking a simple homemade treat or crafting a showstopping cake for a special occasion, a well-executed frosting layer enhances both the appearance and durability of the dessert.
Buttercream Frosting – Recipe
If you’re looking for a stable and versatile frosting to cover a cake, classic buttercream is a top choice. It’s a reliable base for fondant or decorative piping. Buttercream works great for both covering and filling cake layers. Its texture allows for precise smoothing and the retention of decorative shapes.
Ingredients:
- 200 g unsalted butter (at least 82% fat, softened)
- 170 g sifted powdered sugar
- 1-2 tablespoons of milk (optional)
Tip: All ingredients should be at room temperature – this is key to achieving the perfect consistency.
How to Make Buttercream Frosting
Step 1:
Place the softened butter in a mixing bowl. It shouldn’t be too hard – soft butter whips better and forms a smooth, fluffy base.
Step 2:
Beat the butter on high speed for 5-8 minutes until it becomes almost white and gains a light, creamy texture.
Step 3:
Gradually add powdered sugar while continuing to beat. Cream together for 2-3 minutes until fully combined.
Step 4:
Finally, add a splash of milk if needed. Use less milk if you’re decorating with the frosting, and more if you’re using it to fill the cake layers.
This simple buttercream recipe works well for both home baking and professional use. It’s easy to color, holds up during transport, and remains stable even at higher room temperatures. So if you’re wondering how to finish your cake for a durable and elegant result – buttercream is a foolproof option.
Types of Buttercream Frosting
Choosing the right base for frosting a cake significantly affects the final look and durability of your dessert. While all butter-based frostings share the same foundation – high-quality creamy butter – different preparation methods produce varying textures, flavors, and levels of stability. Here are the most popular buttercream types, perfect for both frosting the outside of a cake and layering it inside.
Italian Meringue Buttercream
This buttercream is considered one of the most refined and elegant. It’s made by slowly pouring hot sugar syrup into whipping egg whites, effectively pasteurizing them and creating a stable base. Once cooled, butter is added to form a smooth, luxurious frosting ideal for both cake covering and decorative piping.
Swiss Meringue Buttercream
Similar in texture to the Italian version, Swiss meringue buttercream differs in how the egg whites are heated. Sugar and egg whites are warmed together over a water bath until the sugar dissolves, then whipped into a glossy meringue. Once butter is added, the result is a velvety, subtly flavored frosting perfect for achieving a clean, white finish.
American Buttercream
This is the simplest and quickest buttercream to make. It’s typically prepared by beating softened butter with powdered sugar and, optionally, milk and vanilla extract. Despite its simplicity, it holds its shape well, is easy to color, and works great for both frosting and sharp-edged designs. The downside is a slightly more pronounced buttery flavor.
Condensed Milk Buttercream
A quick and smooth alternative, this buttercream is made by combining equal parts butter and sweetened condensed milk. It’s naturally white, takes color well, and offers a silky consistency. While it may be less heat-stable than meringue-based versions, it’s still an excellent choice for achieving clean finishes in pastel or vibrant hues.
How to Customize Your Buttercream Frosting
While classic buttercream is a crowd favorite, there’s plenty of room to get creative. By adding a few well-chosen ingredients, you can enhance both the flavor and appearance of your frosting. Even a basic buttercream can become a showstopper with the right twist, making your cake truly memorable.
Consider incorporating these add-ins to elevate your frosting:
- melted chocolate (white, milk, or dark),
- fruit purée (e.g., raspberry, strawberry, mango),
- lemon or orange curd,
- ground nuts (hazelnuts, walnuts, or almonds),
- rich jams or preserves,
- espresso or instant coffee,
- a splash of liqueur, brandy, or whiskey for an adult version.
For a more delicate flavor, consider adding pudding or custard. Vanilla isn’t your only option – chocolate, caramel, or cream-based varieties also work well. These additions create a lighter, silkier texture and add subtle complexity to your cake’s outer layer.
Mascarpone Frosting – Recipe
If you’re after a frosting that’s light, stable, and naturally delicious, mascarpone frosting is a great pick. It works beautifully for both layering and finishing cakes. Thanks to the combination of mascarpone cheese and heavy cream, the result is a smooth, easy-to-spread consistency that delivers a clean, professional finish.
Ingredients:
- 500 ml (about 2 cups) heavy cream (30% or 36%, well chilled)
- 250 g (about 1 cup) mascarpone cheese (cold from the fridge)
- 3 tablespoons sifted powdered sugar
How to Make Mascarpone Frosting
Step 1:
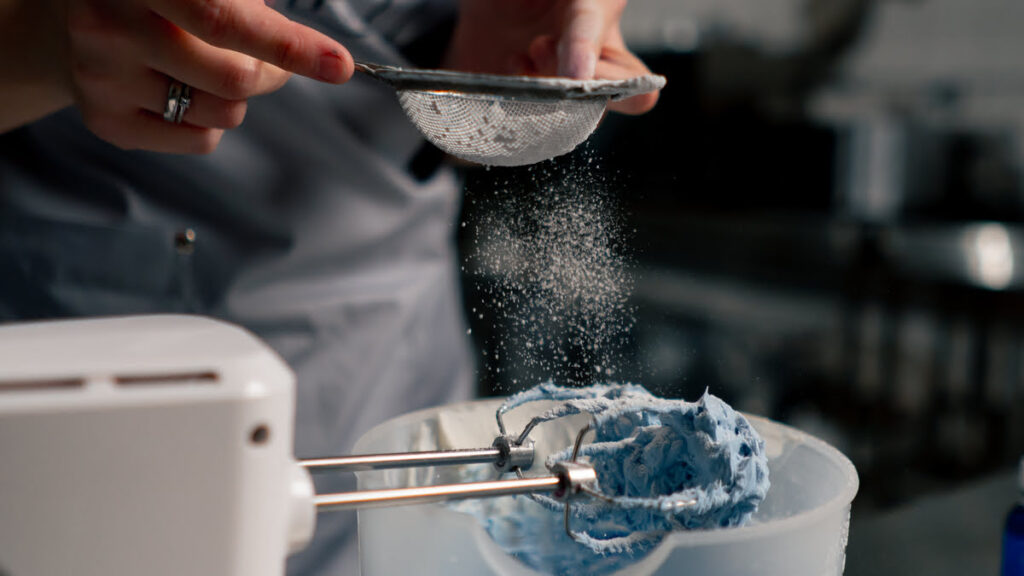
Start with chilled heavy cream straight from the fridge. Place it in a dry bowl with the powdered sugar and whip on high speed for 3-4 minutes until it thickens. Ensure your bowl and mixer attachments are completely dry – any moisture can prevent proper whipping.
Step 2:
Once the cream starts to firm up, add the mascarpone. Continue mixing briefly until the mixture is smooth and uniform.
Step 3:
The finished frosting should be creamy and firm. It’s excellent for frosting cakes where a natural flavor and bright white color are desired. It also works well for decorating cupcakes, muffins, or other desserts.
Additional Tips for Mascarpone Frosting
- Avoid overmixing, as it may cause the frosting to curdle.
- In warmer weather, consider adding gelatin or a stabilizer like whipped cream fix to increase its hold.
- Cakes frosted with mascarpone should be stored in a cool place, and the frosting itself should be refrigerated and used within 2-3 days.
- Make sure the cake layers are completely cooled before applying the frosting to preserve its texture and shape.
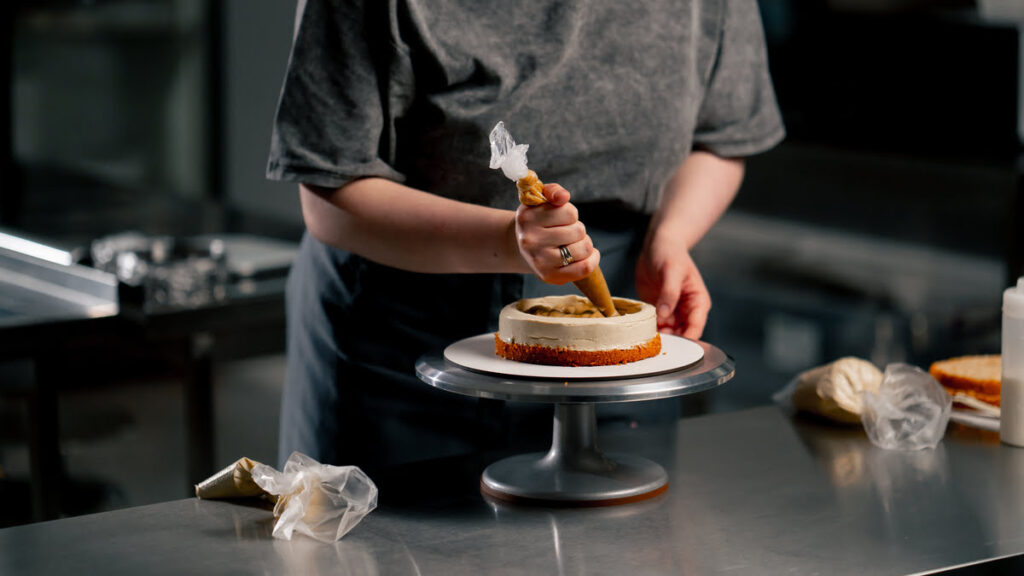
How to Frost a Cake Step by Step
Creating a beautifully frosted cake starts long before the first layer of cream is applied. Every step, from baking to trimming, affects the final appearance and structure. Below is a step-by-step guide to help you achieve smooth sides, clean edges, and a polished finish every time.
Step 1: Prepare Your Cake Base
Start with a well-baked, slightly firm sponge cake. Recipes using oil or water often produce spongier, more flexible layers. Make sure the layers are evenly sliced using a serrated knife or adjustable cake leveler. A level structure ensures better stability and easier frosting.
Step 2: Stack and Shape the Cake
Build your cake within a cake ring or acetate collar. This helps keep the sides straight during assembly. Before adding fillings like fruit or flavored creams, pipe a ring of frosting along the edges to contain the filling. This ring also doubles as the base for your outer frosting.
Step 3: Chill Before Frosting
After stacking, refrigerate the cake for at least 2-3 hours. This helps the filling set and makes the structure firmer. Skipping this step could result in uneven spreading or a collapsing cake.
Step 4: Apply the Crumb Coat
Begin with a thin layer of frosting, known as a crumb coat. It traps any loose crumbs and creates a smooth base for the final layer. Spread evenly and chill the cake again for about 15 minutes before proceeding.
Step 5: Add the Final Layer of Frosting
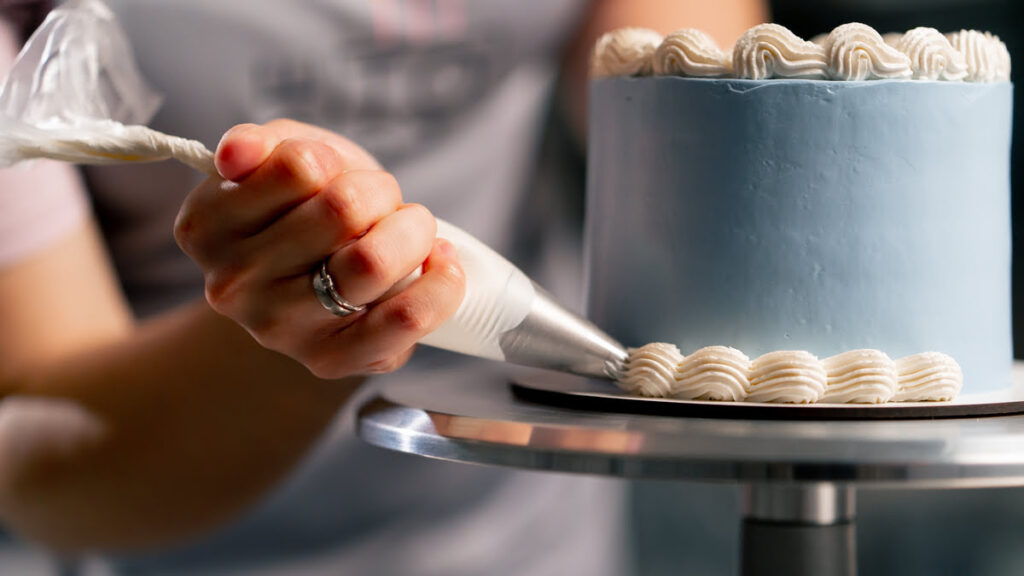
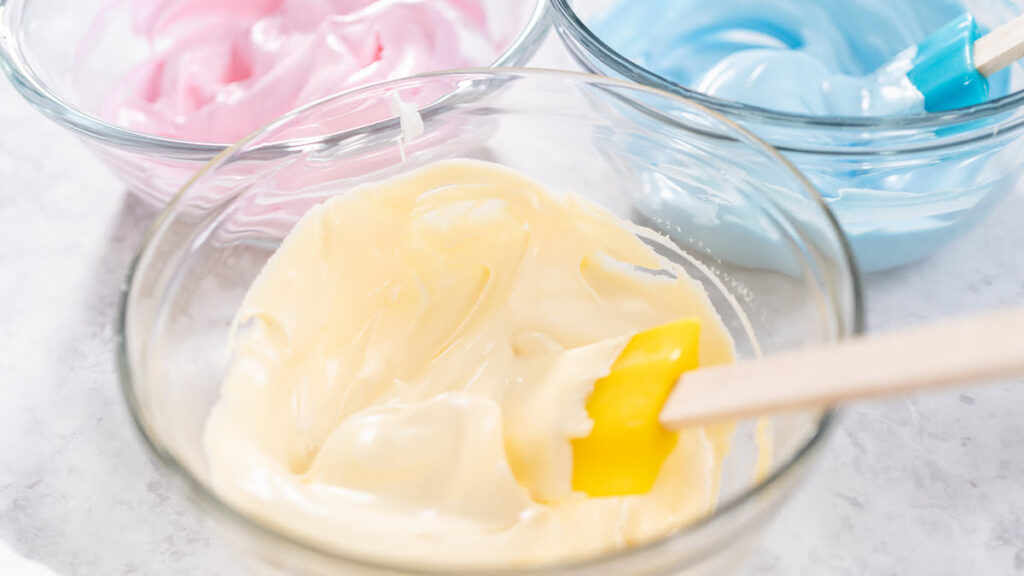
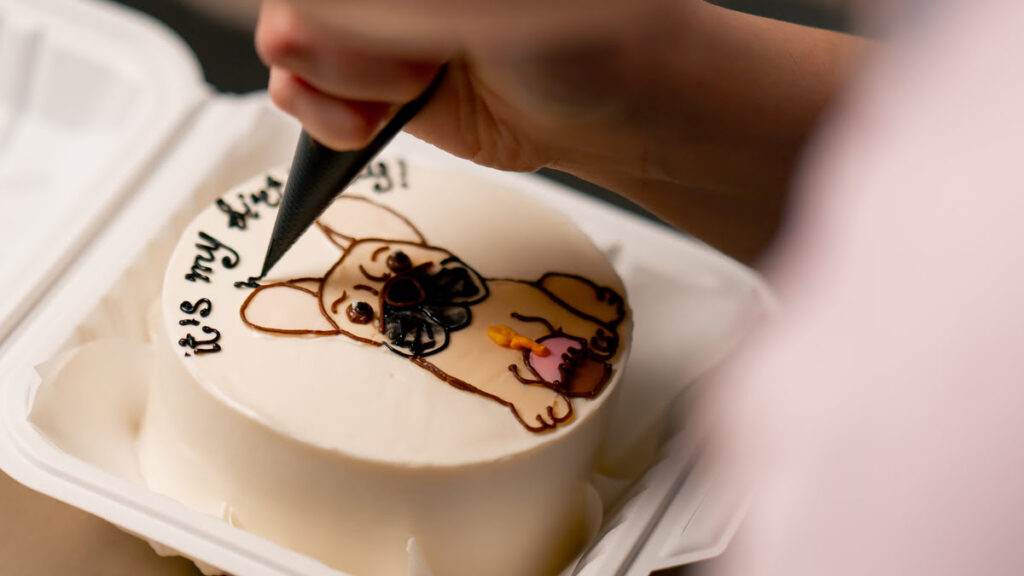
Apply a generous amount of frosting over the top and sides. You can tint it with gel or powder coloring to match your theme. Use a turntable for even coverage.
Step 6: Smooth the Sides and Edges
Using a bench scraper or straight-edge spatula, hold it vertically against the cake and rotate the turntable slowly. Clean the tool after each pass to prevent streaks and achieve a flawless finish.
Step 7: Finish the Top
Smooth the top by dragging excess frosting from the edges toward the center. A small angled spatula works best for precision. This final step defines the cake’s silhouette and ensures a clean, professional look.
By carefully following each step, you can create a cake that looks like it came from a professional bakery. Whether it’s for a birthday, anniversary, or special gathering, a well-frosted cake not only impresses visually but also transports well and holds up during display.
Common Mistakes When Frosting a Cake
Frosting a cake is an art that requires not only skill but also awareness of common pitfalls. Even the best frosting won’t perform well if the cake lacks structure or isn’t properly chilled. Here are some of the most frequent mistakes that can ruin the final look and stability of your cake.
Unstable Cake Structure
A wobbly or collapsing cake is often the result of poor foundation. Common causes include:
- using sponge cake that’s too fresh or soft,
- unevenly sliced or overly thin layers,
- trimming the sides too aggressively, weakening the outer structure,
- fillings that are too runny or too stiff to bind layers properly,
- over-soaked layers that become mushy,
- skipping chill time between assembly steps,
- lack of dowels or sturdy boards in tiered cakes.
Incorrect Frosting Consistency
The texture of your frosting plays a key role in how well it applies. Avoid these common issues:
- Frosting that’s too soft may slide off the cake: chill it briefly in the fridge
- Frosting that’s too firm can tear the surface: let it warm to room temperature before using
Air Bubbles and Holes in the Frosting
Undermixed or poorly handled frosting can trap air, leading to an uneven finish. Mix the frosting on low speed for a few minutes before using, ideally with a silicone paddle or flat beater, to eliminate bubbles and achieve a smooth texture.
Cracking Frosting
Cracks in the frosting may result from:
- a cake structure that hasn’t set properly,
- overly tight assembly in the ring, causing expansion later,
- a final coat that’s too thin to support the shape,
- a weak or unstable base board that bends during movement.
Environmental Conditions
Room temperature can greatly affect your results – especially in warm weather. High heat softens the frosting and weakens the cake’s structure. Always store frosted cakes in a cool place and avoid working in a hot kitchen. Even the best frosting can’t perform well in challenging conditions.
Cake Frosting – Frequently Asked Questions
Perfectly frosted cakes often raise a number of questions – especially if you’re just getting started with home baking. Below are answers to the most frequently asked questions about frosting types, techniques, and common issues.
What’s the difference between frosting and filling cream?
Frosting must be significantly more stable than a filling cream. Its purpose is to create a smooth, temperature-resistant outer layer that holds decorations and maintains the cake’s shape. Filling cream is typically lighter and fluffier but isn’t suitable for external coverage.
Can cake frosting be colored?
Yes, especially buttercream-based frostings take color very well. For best results, use gel or powder food coloring, which won’t alter the frosting’s consistency. If you’re aiming for vibrant colors, it’s best to start with a white base like mascarpone or condensed milk frosting.
Why does my frosting have air pockets or a rough texture?
This is usually caused by insufficiently deflating the frosting after whipping. Mix the cream on low speed for several minutes after preparation to eliminate trapped air and achieve a smooth finish. Also, make sure the frosting is at room temperature for optimal spreadability.
How thick should the frosting layer be?
A layer of 3–5 mm is usually sufficient. A coat that’s too thin may crack, while one that’s too thick can overpower the cake’s flavor balance.
What frosting works best in hot weather?
Classic buttercream is the most heat-resistant option. It can be further stabilized by adding melted chocolate or a small amount of cornstarch. Avoid light whipped cream-based frostings, as they tend to melt quickly.
Can every cake be frosted?
Not necessarily. Very soft or overly moist sponge cakes that haven’t been properly chilled may deform under the frosting. Dense, firm cakes that have been fully cooled are best for frosting and decorating.
How can I make white frosting even whiter?
Start with a naturally pale base such as mascarpone, condensed milk, or Swiss meringue buttercream. For classic buttercream, you can add white gel coloring to reduce yellow tones without affecting texture.
How many layers of frosting should I apply?
Typically, two layers are used. The first is a thin crumb coat to seal in crumbs, followed by a second, thicker layer that defines the cake’s shape and provides the final finish for decoration.
What can I do if my frosting curdles?
Curdling usually happens when ingredients have different temperatures. To fix it, warm a small portion of the frosting (in a water bath or microwave) and slowly mix it back into the rest on low speed. Alternatively, let the whole batch sit briefly at room temperature before re-whipping – it often just takes time and patience to bring it back together.
How do I make black frosting?
Use a buttercream base and start by mixing in a bit of cocoa or melted dark chocolate to deepen the tone. Gradually add black gel or powder coloring (avoid liquid) and stir well. The color darkens over time, so it’s best to prepare it ahead and let it rest in the fridge overnight.
How do I remove air bubbles from frosting?
Mix the frosting on low speed using a flat beater or silicone paddle attachment after whipping. This helps release trapped air and ensures a smooth, even texture – crucial for a flawless finish.
How should frosting be stored?
Store frosting in an airtight container in the fridge for up to 2-3 days. Bring it to room temperature before reusing and stir gently to restore its consistency. Butter-based frostings can be frozen, but mascarpone or whipped cream frostings are best used fresh.